| In this lesson, students will learn how to create and display an image object. |
Students will be able to:
|
|
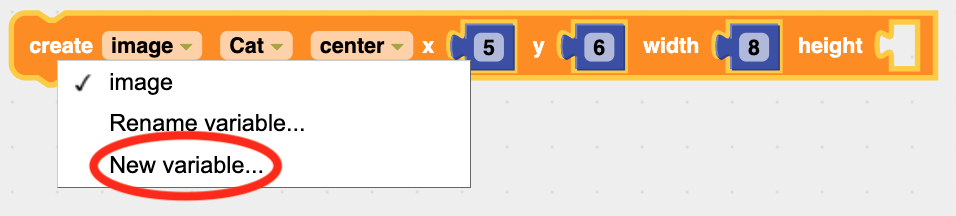
1. Create an Image Object In the lesson on Show Image, it uses the show code block to display an image on the grid in different locations and different sizes. It is also useful sometimes to rotate or flip the orientation of an image when displaying it. We will learn how to do rotations and flips in different lessons, but to do them we first need to learn how to create an image object. An image object is a special copy of the original image. It's special because it stores not just a copy of the image itself, but also stores built-in code that allows us to do things to the image, like move it around or flip it or rotate it. To create an image object, we use the create image code block (in the Image menu):
In this block the second value ("Cat" in the example above) is the normal pull-down menu that allows us to choose which image we want to use. The x, y, width, and height values allow us to specify the location and size of the image. The first value ("image") is the name we give to the image object that is being created. Although we can leave the name as "image," it is better to change the name to something more descriptive, such as "mycat" or "cat1" or "Fluffy." We click on it and choose the "New variable" option to give it a new name:
(In programming terminology, the name is called a "variable." We learn more about variables in other lessons, but for this lesson we just need to understand that the variable name is a label for our new image object. Also, it's best to use the "New variable" option, not the "Rename variable" option, when first creating an image object.)
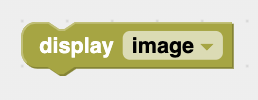
2. Display the Image Using the display Block After you use the create image block to create an image object, the second step is to display the image that is stored in the object. To do this we use the display image block:
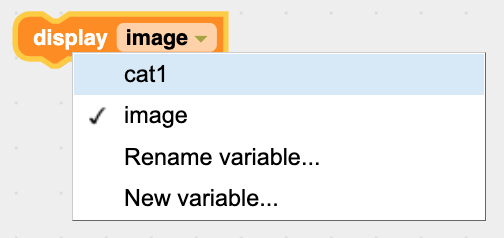
If we had named our image object "cat1" then we would choose that name. So here's what the code to create the image object and then display it would look like:
3. Change the Location of the Image Object The create image block specifies the initial (x, y) location of the image stored in the image object. We can change the (x, y) coordinates using the translate image block:
4. Display the Image Using the show image Block We can also display the image that is stored in an image object by using a second version of the display image code block. It is similar to the show block we used previously to display an image, but it uses the "image" name to tell RoboBlocky which image object to use. It also allows us to specify different values for x, y, width, and height for where and how the image is displayed:
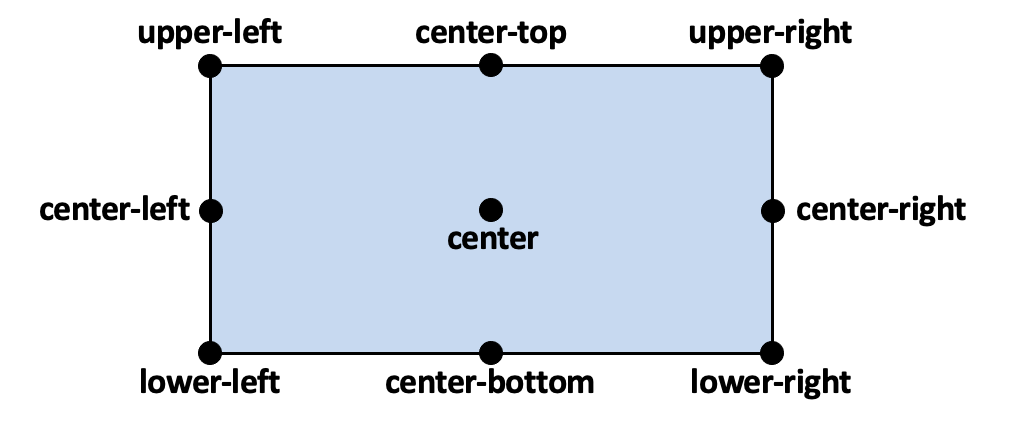
5. Adjust How the Image is Displayed You can use the second popup menu in the create image block (or show image block) to specify whether the (x,y) coordinates refer to the center of the image or one of the four corners of the image (upper-left, upper-right, lower-left, lower-right) or one of the side centers (center-left, center-top, center-right, or center-bottom):
You can also set the "width" value to make the image bigger or smaller. The height will be adjusted automatically. Or you can also set both the width and height values by putting in number blocks for both (drag and insert a number block from the Math menu), which can result in a stretched or squeezed image. For the display image block, if you want to set the height instead of the width, you can use the pull-down menu to change "width" to "height":
|


|
|
This example first uses a show image block to display the white cat. Then, a create image block is used to create an image object with the name "mydog" connected to an image of a dog. It then uses the display image block to display the image. |