
User's Guide for Getting Started with
Free Curriculum on Robotics, CS, and Math
1. Overview of Free Curriculum
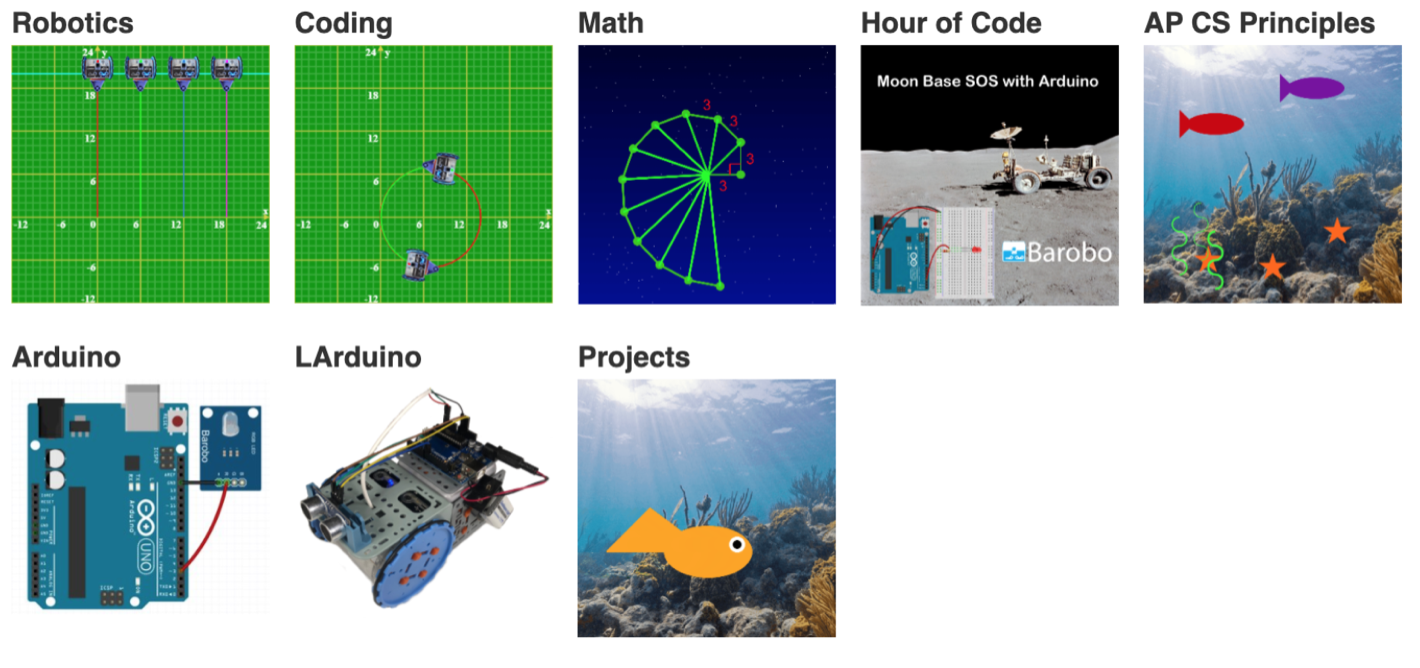
The RoboBlocky Free Curriculum includes a variety of activities open to all users for learning robotics, CS, math, sensor-based robotics, and physical computing:
2. Tutorials and FAQ
It is recommended that users who are new to RoboBlocky take advantage of the interactive tutorials and instructional videos available via the Tutorials button at the upper left in the RoboBlocky interface (or at www.roboblocky.com/tutorials), as shown below. The RoboBlocky FAQ page also has useful information.
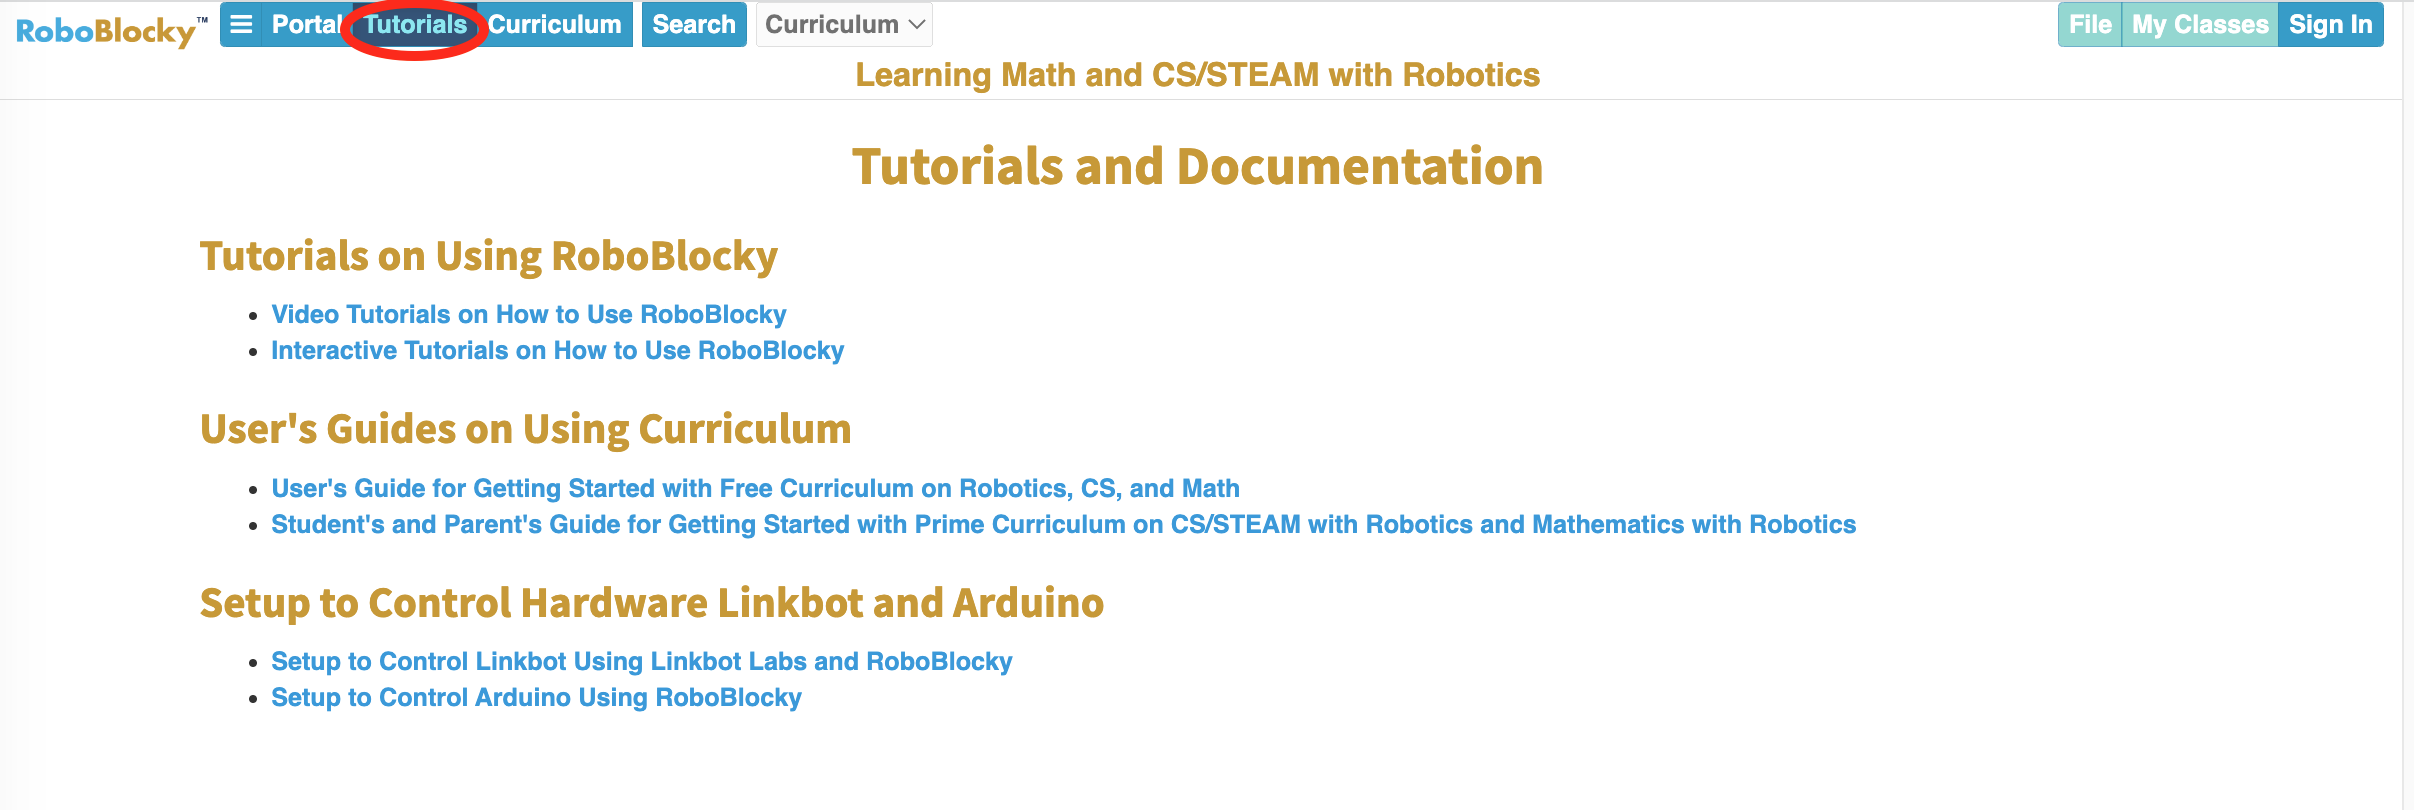
The tutorials page includes setup instructions if you are using hardware Linkbots and/or Arduino boards.
3. Lessons and Activities
RoboBlocky has many "lessons" that introduce key concepts in a “Lesson Description” section displayed at the top of the page. Lessons are indicated by their tan background in the list of activities. Lessons contain explanations and screenshots of key code blocks being introduced, plus example code to run. Some lessons also have a video at the top right that will play a video outlining and demonstrating the concept. Example:
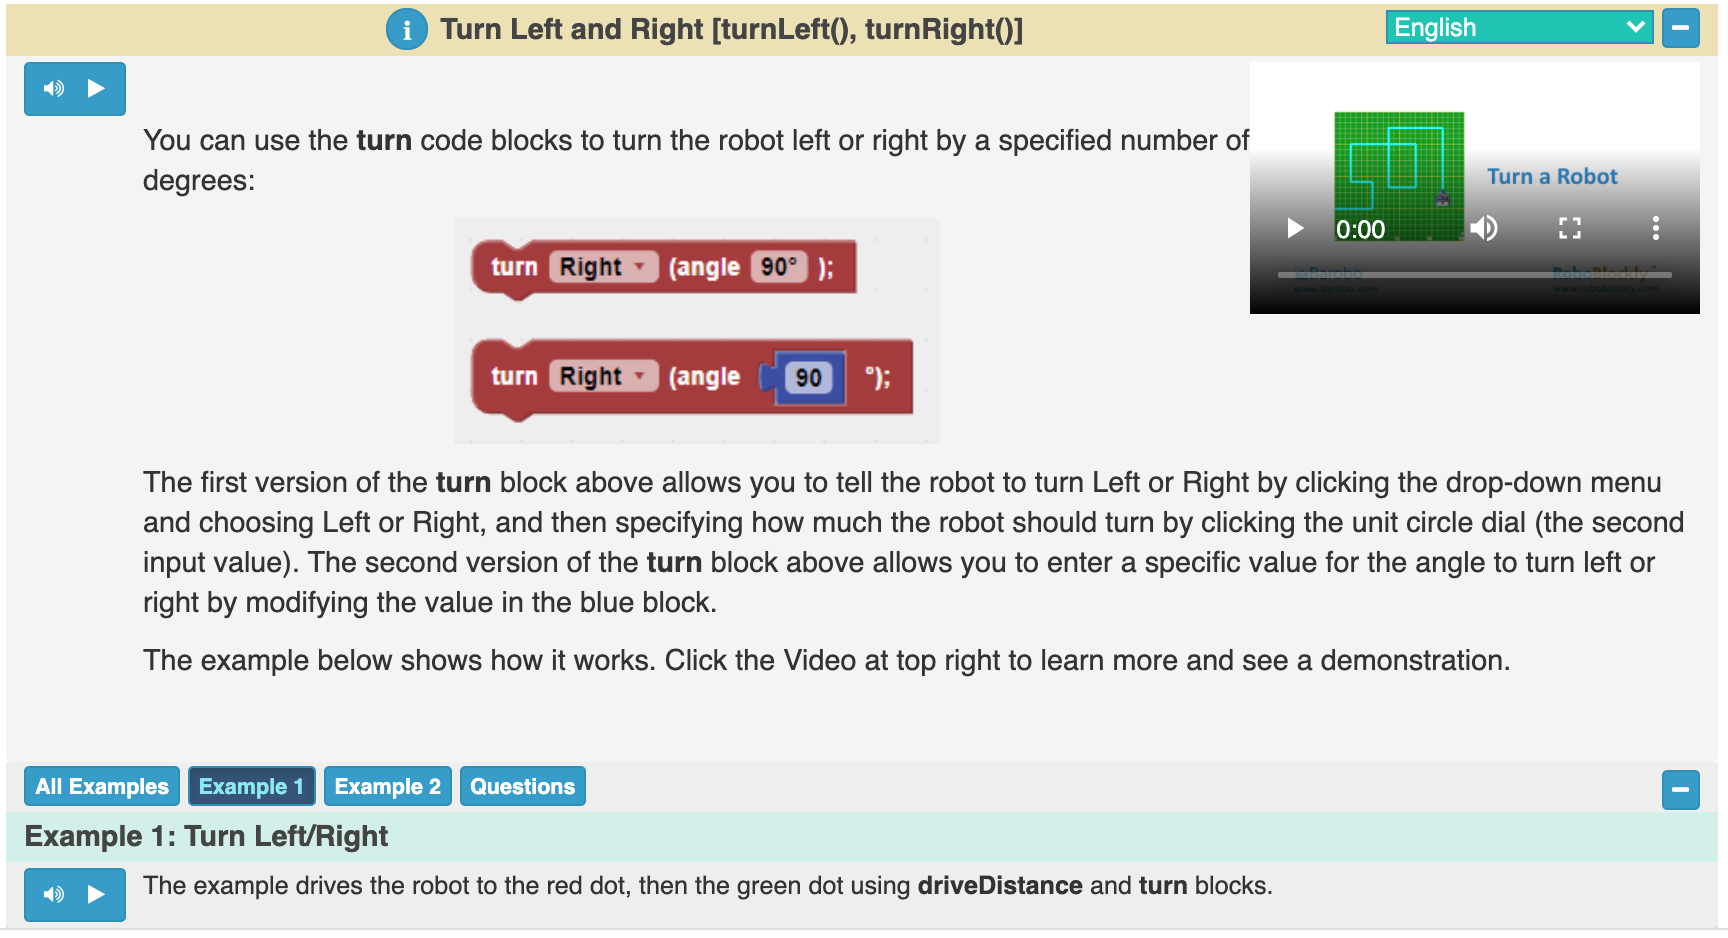
The Lesson Description section can be closed up by clicking the “-” (minus sign) icon at the top right of the section. (The icon then becomes a “+” sign—clicking it opens the description back up.)
Activities, in contrast to lessons, are designed to give practice with RoboBlocky and programming. Activities have a problem statement displayed immediately above the Workspace area, giving you instructions on what to do. For example:
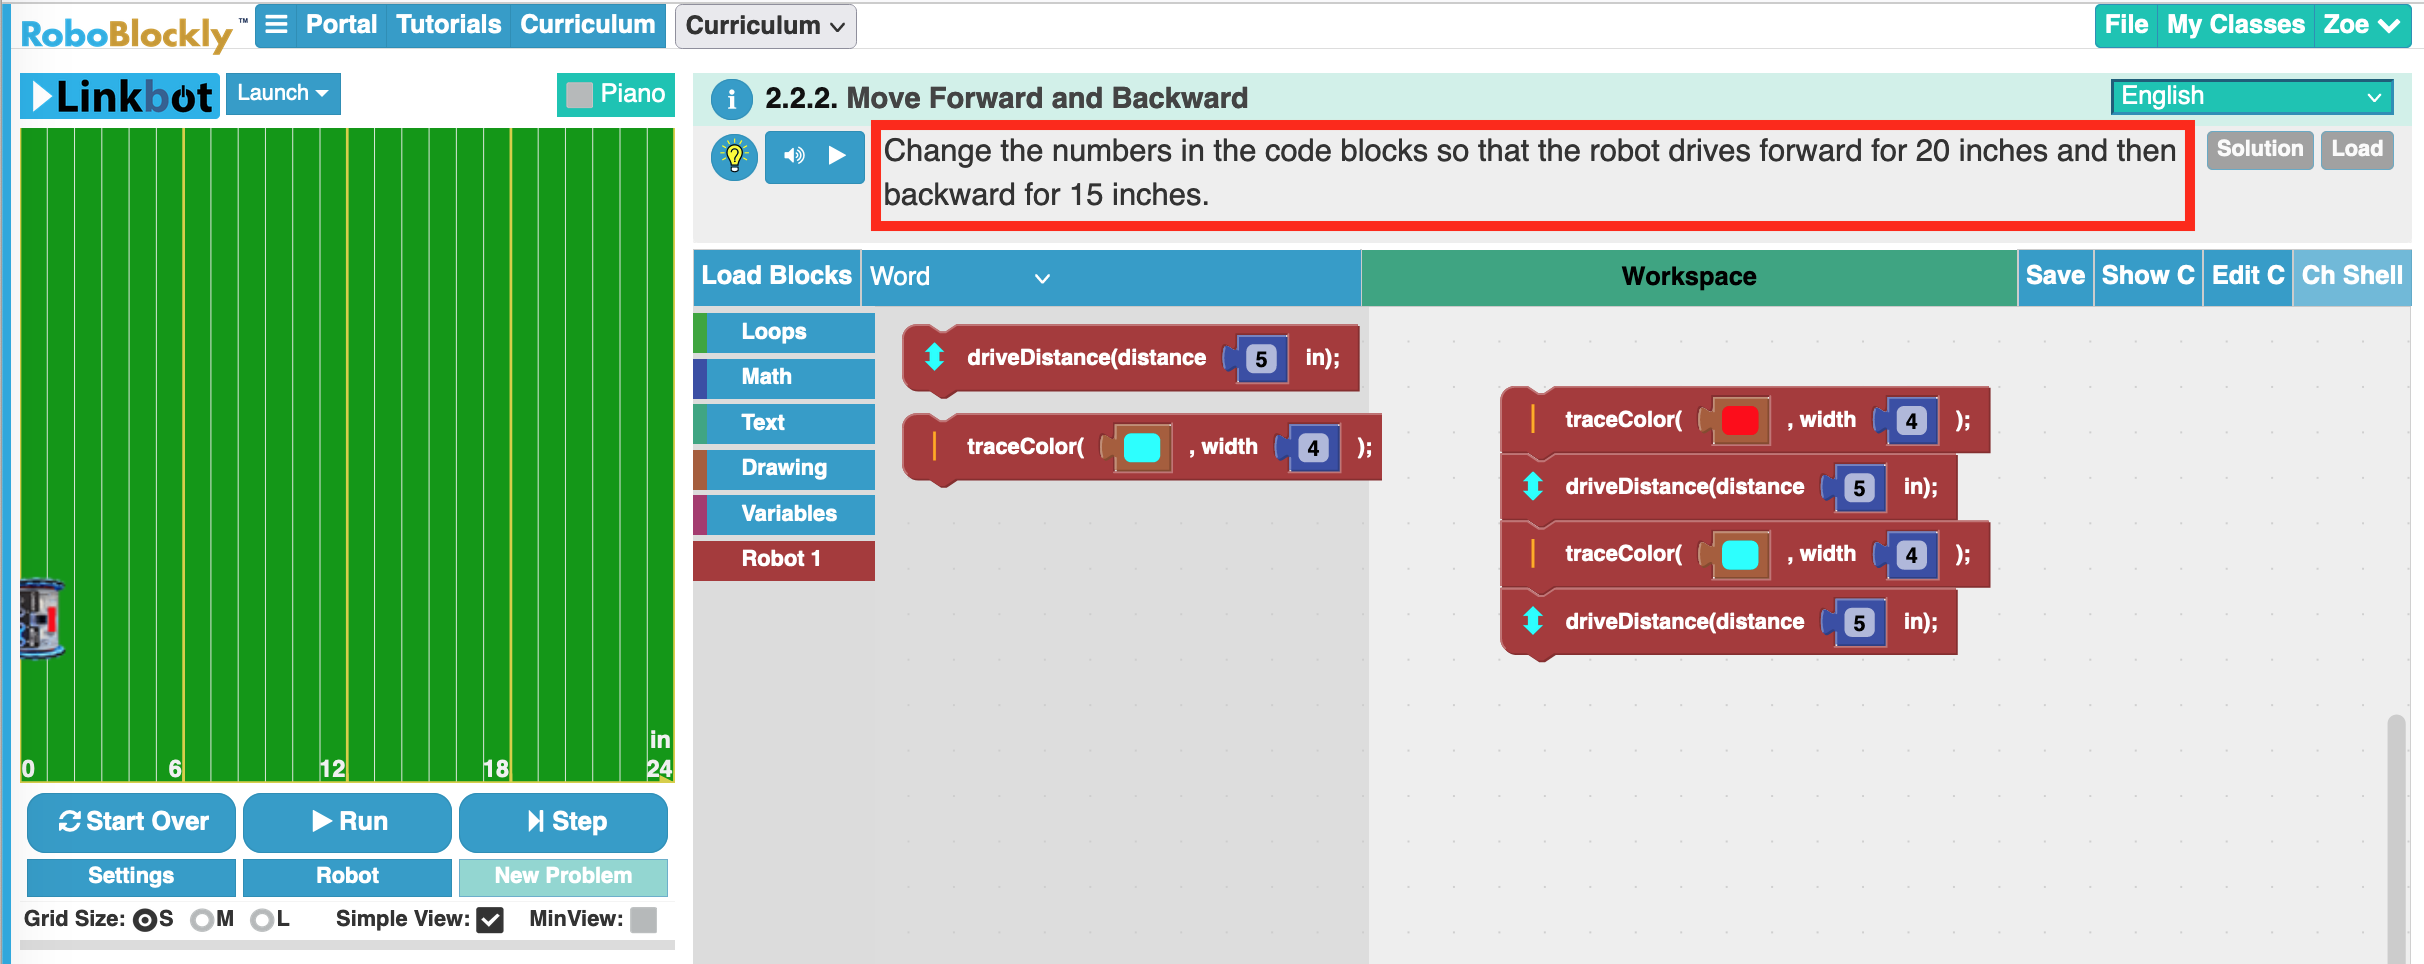
You can click the triangular “Play” button ![]() to hear an audio playing of the problem statement. The light bulb icon
to hear an audio playing of the problem statement. The light bulb icon ![]() provides hints and tips for the activity. The
provides hints and tips for the activity. The ![]() icon provides background information about the activity.
icon provides background information about the activity.
As seen in the image above, most activities have code blocks that are pre-placed in the Workspace to help you get started on an activity.
You can also drag code blocks from one of the menus (located between the grid area and the Workspace) to the Workspace and click the blocks together. Clicking the Run button (below the grid area) will execute the code represented by the blocks, thereby moving the virtual robot (or hardware robot, if connected) and/or doing various computations, drawings, animations, or other activities.
Solutions to the activities are available to authorized instructors via the “Solution” and “Load” buttons, displayed to the right of the problem statement (but grayed out and inactive for other users). Teachers have the option of releasing solutions to students after homework assignments are submitted.
4. Creating an Account
All of the activities in the Free Curriculum are accessible without a RoboBlocky account. But if desired, users may register for a free account. The advantage of having an account is that it will allow you to save RoboBlocky files to your account (stored in the cloud), so that you will be able to access those files from any computer once you are logged in to your RoboBlocky account. (You can save RoboBlocky files without an account, but they will be saved only to your local computer.) In addition, users with accounts have access to a virtual piano that can be played with the mouse (or touchscreen or touchpad) and automatically generate “playNote” code blocks that can be saved, replayed, and edited for musical compositions.
To create a free account, go to www.roboblocky.com/sign_in.php, or click the Sign In tab at the top right of the RoboBlocky interface:

You will then see a page with Sign In options:
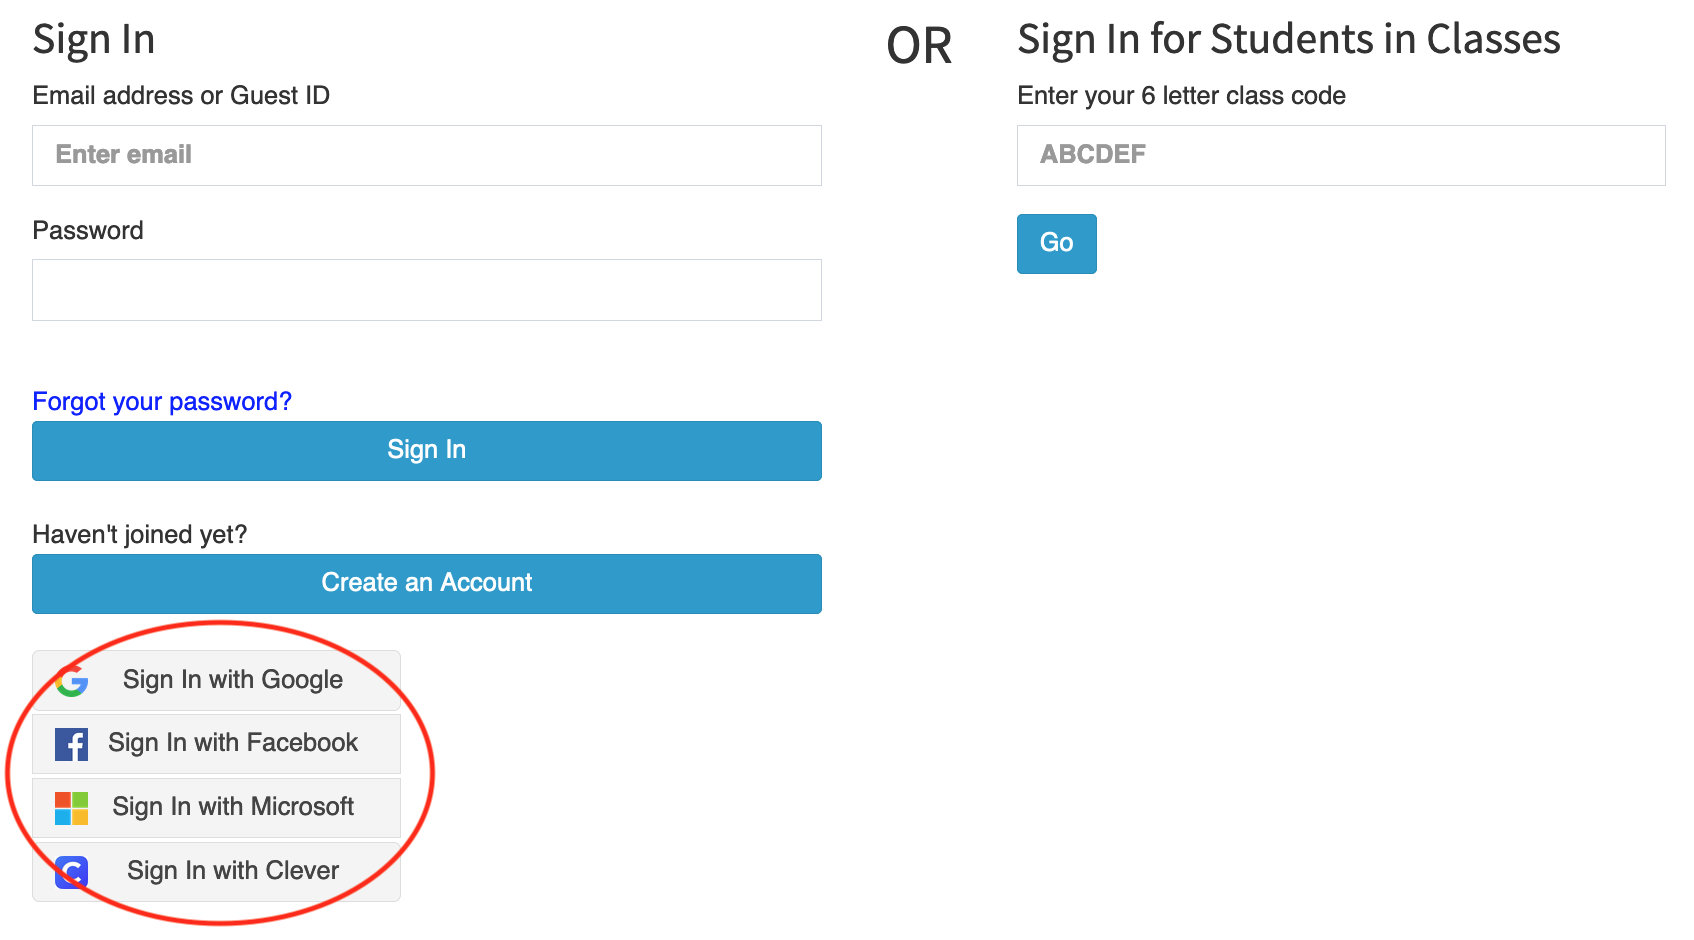
Click the Create an Account button or use one of the "Sign In" options (Google, Facebook, Microsoft, or Clever). If you choose the Google, Facebook, Microsoft, or Clever option, you may get a window asking you to enter your account information and/or sign in to it.
Once you are signed in, you should see the main RoboBlocky page, with your name appearing at the top right where the Sign In tab was previously (e.g., "Zoe"):
